DIY Enclosure for Bambu Lab A1: 4 Proven Builds
Four ways to enclose your open-frame Bambu Lab A1 for ABS and ASA printing — from a printed acrylic frame to a ready-made YOOPAI. Includes a mandatory electronics cooling guide.
The Bambu Lab A1 is a great open-frame printer — fast, reliable, and easy to service. But that open frame puts a hard limit on your filament choices: ABS warps from drafts, ASA cracks, even PETG can be temperamental if the room temperature swings. Add in the noise, fumes from engineering plastics, and dust settling on prints — and the urge to build an enclosure comes pretty quickly.

Why Bother with an Enclosure?
- Engineering plastics — ABS, ASA, and nylon need stable ambient heat. Even a slight draft from a window or AC unit will cause warping and delamination. An enclosure solves this.
- VOCs and particles — ABS off-gasses styrene and fine particles. An enclosure lets you add an active carbon filter or route exhaust outside.
- Noise reduction — walls drop ambient sound from ~60 dB to ~40 dB. Very noticeable when printing overnight.
- Safety — a 260°C hotend and a moving bed are real hazards. An enclosure keeps kids and pets clear.
- Dust — long prints come out cleaner, fewer surface defects from airborne fibers and debris.
Sizing: How Big Does It Need to Be?
The A1 footprint is 385×410 mm, standing 430 mm tall without AMS Lite. With the AMS Lite on the top bracket, total height reaches ~557 mm. Add 70–100 mm clearance on every side for the door, cables, and ventilation to get your minimum enclosure dimensions.
| Configuration | Printer Size | Minimum Enclosure | Recommended |
|---|---|---|---|
| A1 without AMS Lite | 385×410×430 mm | 500×530×530 mm | 550×600×560 mm |
| A1 + AMS Lite on top | 430×480×557 mm | 550×600×640 mm | 580×680×680 mm |
Option 1: Printed Frame + Acrylic Panels


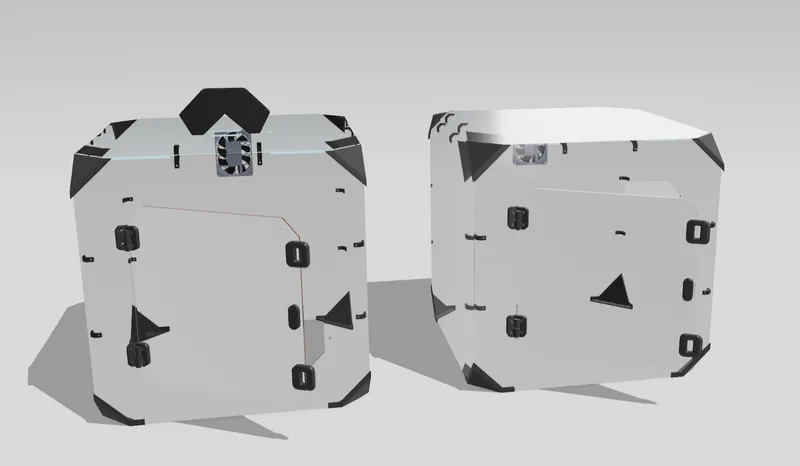
The most precise DIY approach. Print corner brackets and panel holders in PLA or PETG, then combine with 3 mm acrylic sheets cut to size — either from a local plastics shop or pre-cut from AliExpress. For the full-size A1 (not Mini), you need panels around 550×550 mm. Ready-to-use STL files are in the "A1 ENCLOSURE PARTS" collection on MakerWorld and model #595731 on Printables.
- Cheapest materials cost — around $20–40 for acrylic panels
- Fully transparent walls — complete visibility of the print in progress
- Sized exactly to your setup — with or without AMS Lite
- Modular — easy to add fans, filters, or lighting at any point
- Requires access to another printer, or ordering pre-printed parts
Difficulty: Medium | Cost: ~$20–50 | Build time: 3–5 hours
Option 2: IKEA LACK Table Stack
The 3D printing community's classic budget solution. The IKEA LACK tabletop is 55×55 cm — a near-perfect footprint for the A1. Stack two or three tables: one as the base platform, one as the frame, one as the roof. Side panels are cut from acrylic or corrugated plastic and held with 3D-printed connectors. MakerWorld has a dedicated LACK enclosure collection for the A1, including a 167 mm riser to dial in the correct height.
- One of the cheapest options — LACK tables are ~$10–15 each
- No special tools or skills needed
- Completely reversible — disassemble and store it when you don't need it
- Downside: not fully airtight — small gaps where panels meet legs
- Downside: looks DIY, but honestly it works great
Difficulty: Easy | Cost: ~$20–40 | Build time: 2–3 hours
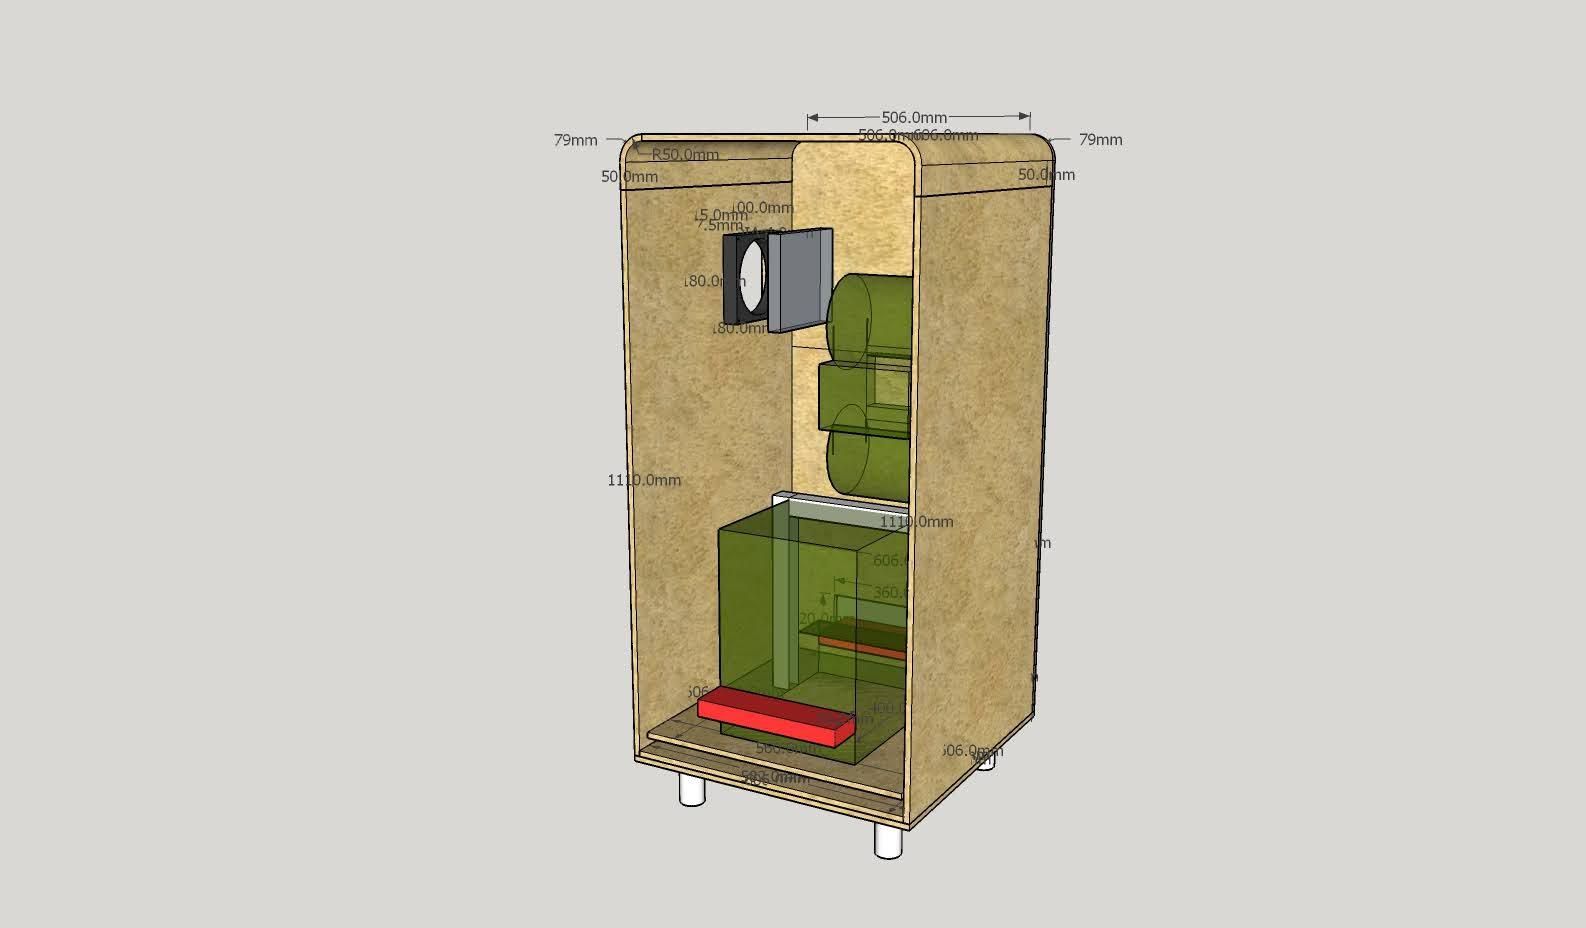
Option 3: Plywood Box
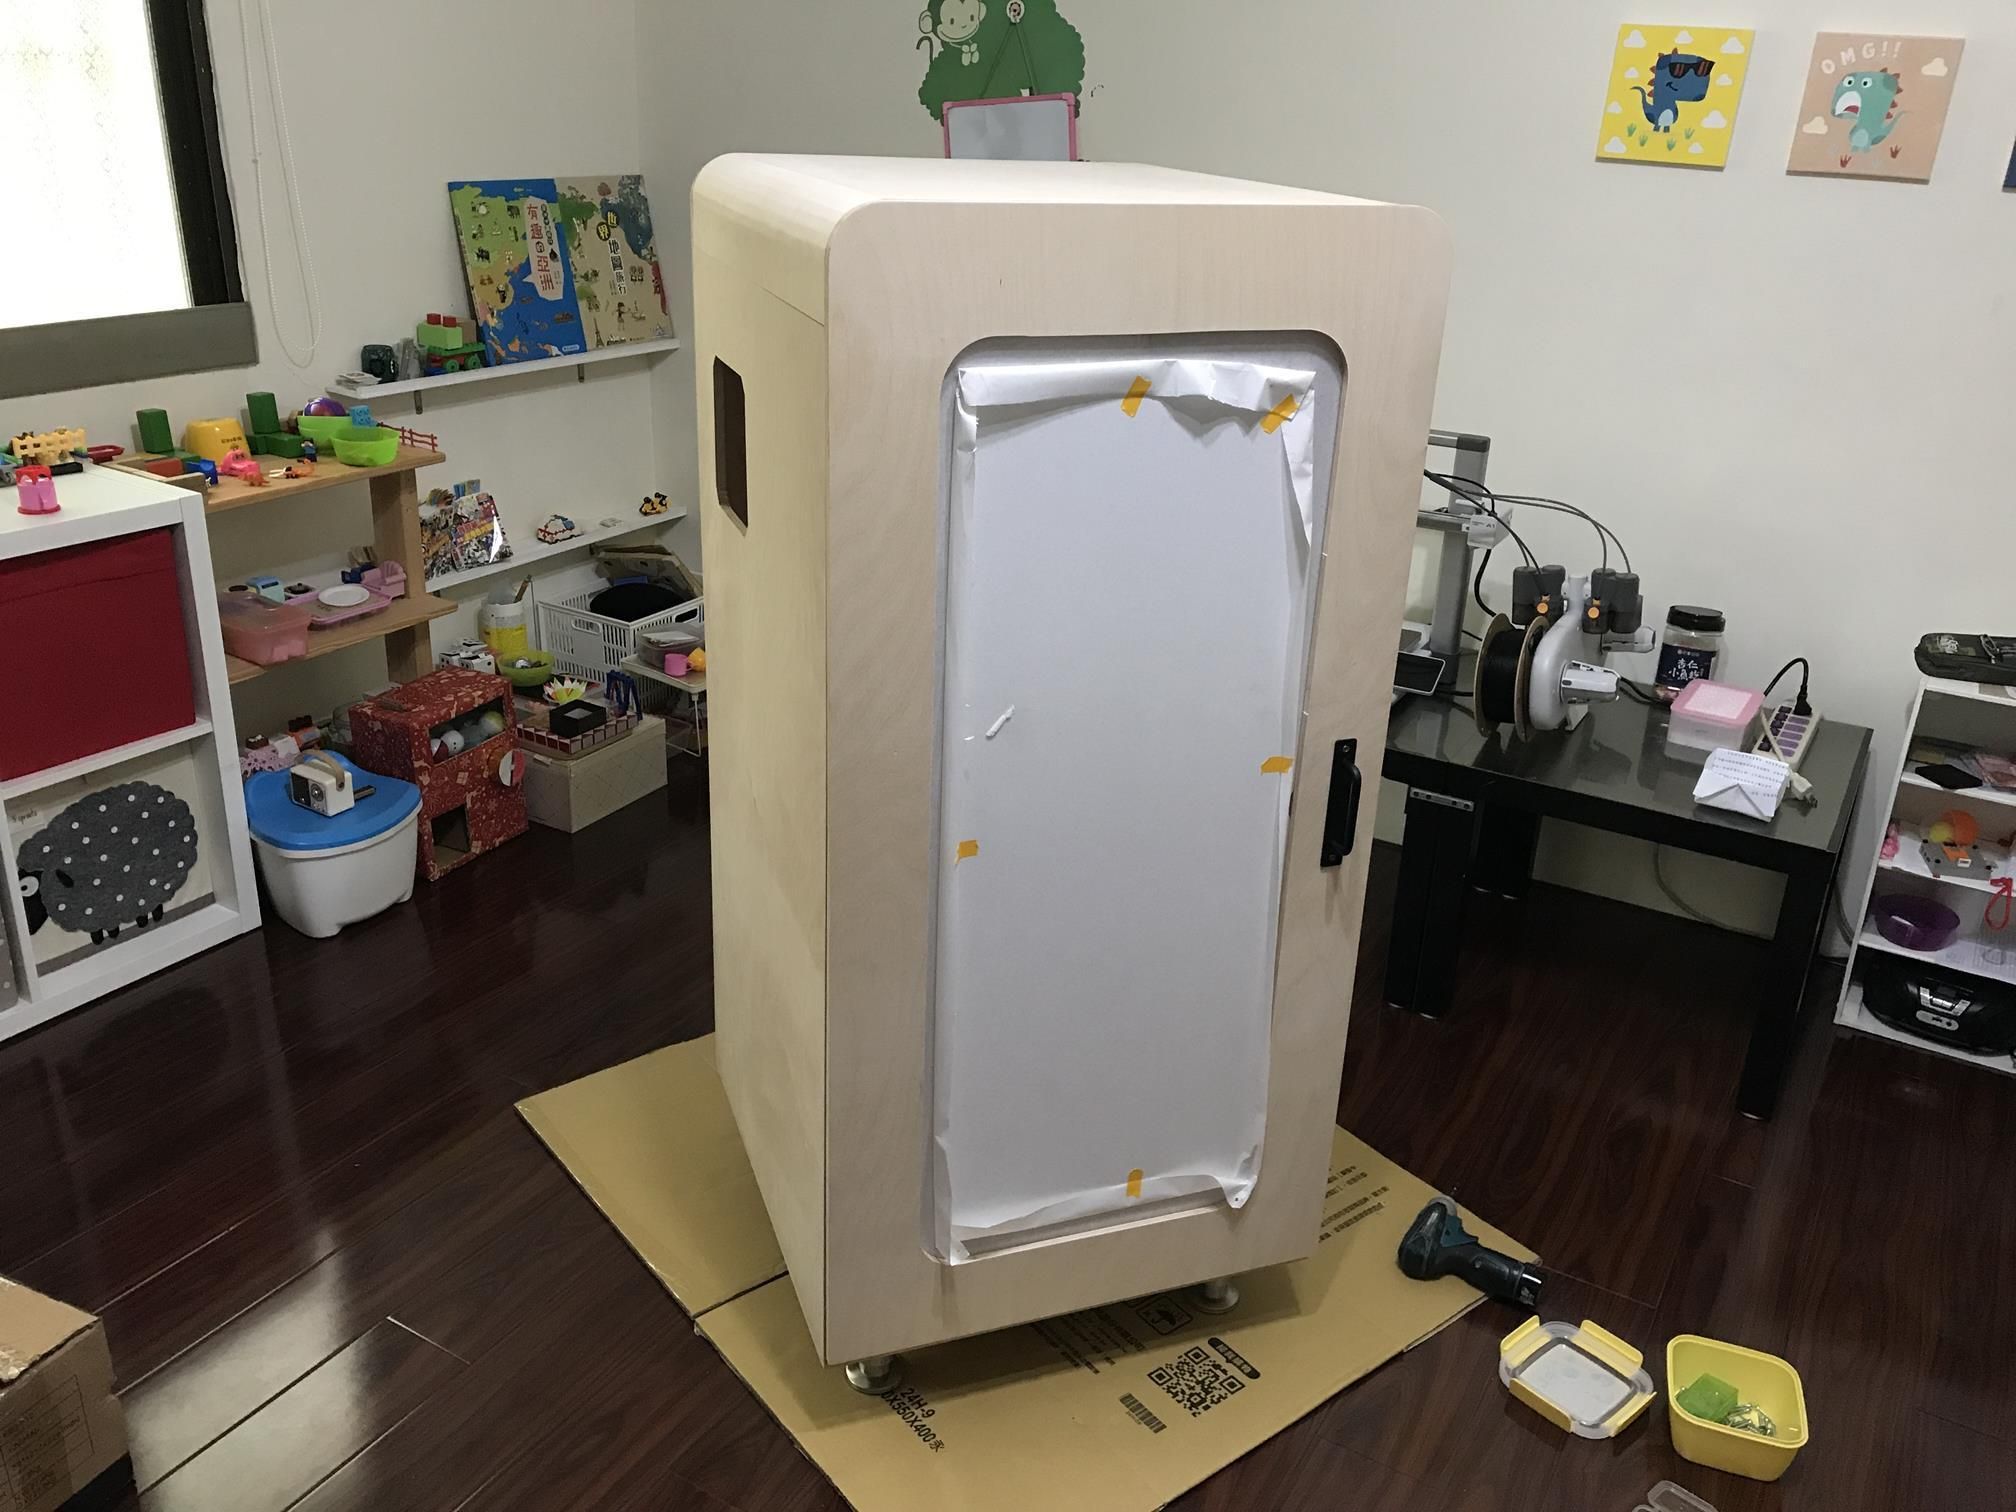

If you're comfortable with basic woodworking, a plywood box gives you the best DIY enclosure. 12 mm sheets provide excellent rigidity and insulation. Cut a window opening in the front door for a 3 mm acrylic panel, add an exhaust fan cutout on the side, and mount an LED strip inside. There's a detailed 12-step Instructables build with full photos — the builder measured ~32°C interior temperature, which is solid for ABS printing.
- Best insulation and seal quality of any DIY option
- Fully custom dimensions — build it exactly to your space
- Easy to integrate built-in LED, thermometer, filter mount
- Downside: requires a jigsaw, drill, and basic woodworking skills
- Downside: heaviest option of the four
Difficulty: Hard | Cost: ~$40–90 | Build time: a full day
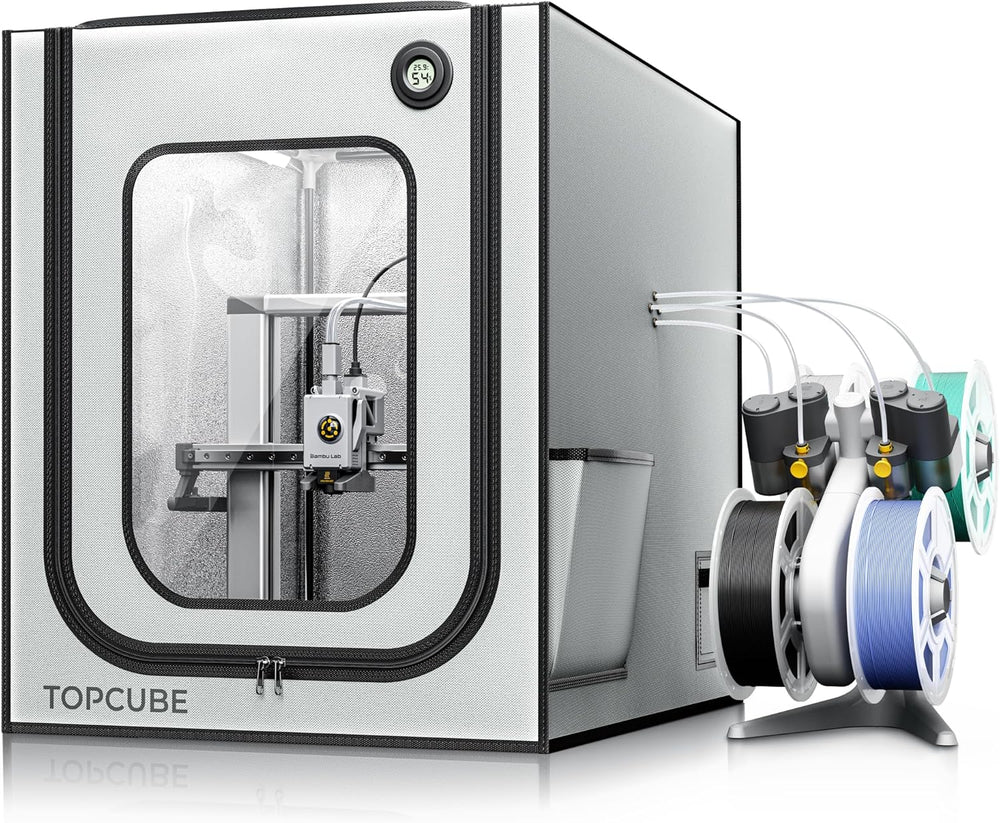
Option 4: YOOPAI TopCube Ready-Made

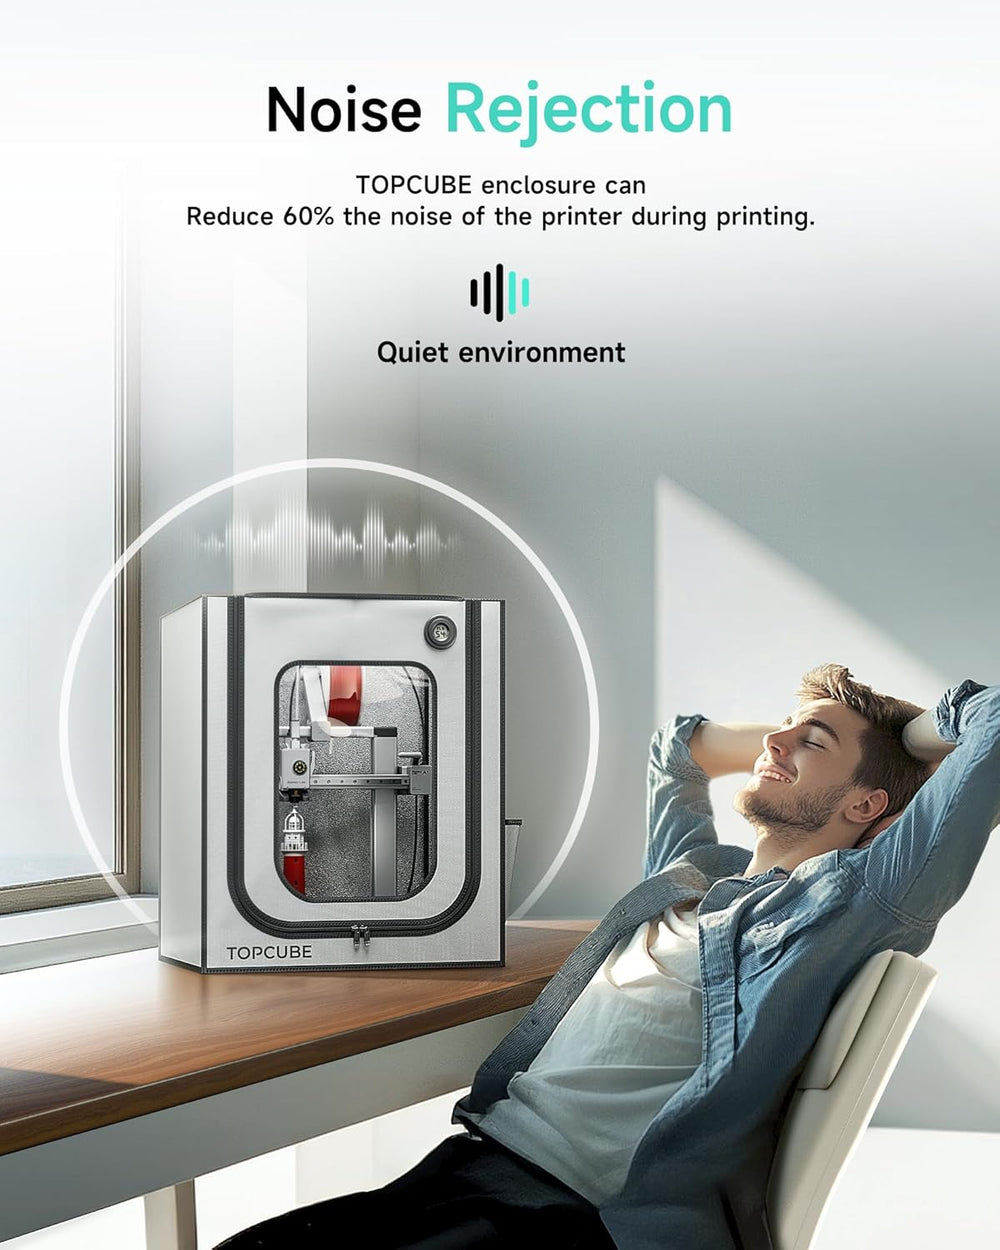
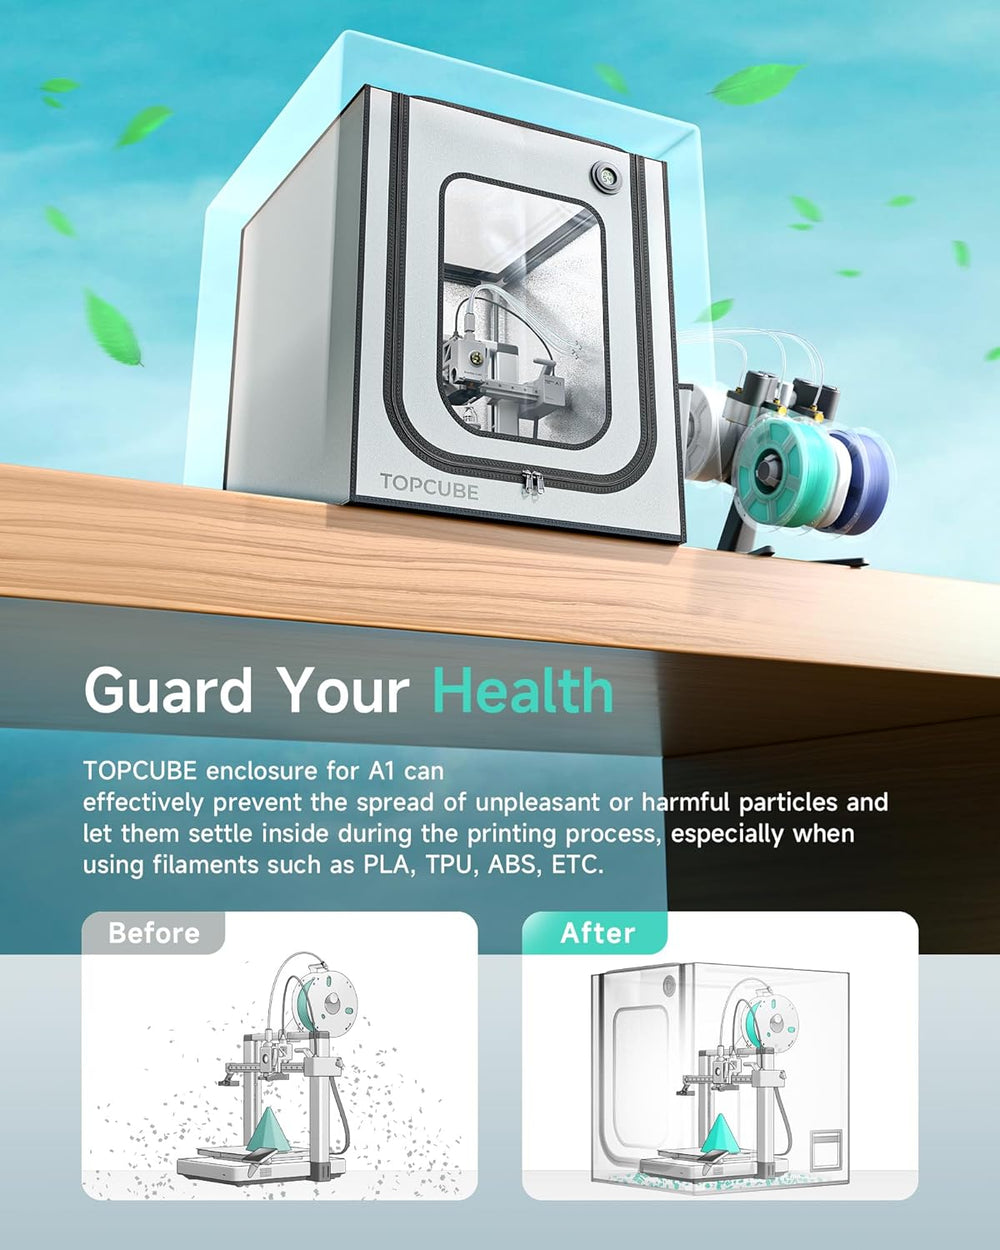
If you'd rather spend the time printing than building — the YOOPAI TopCube was designed specifically for the A1 and A1 Combo. At 550×670×600 mm it fits the printer with AMS Lite. Setup is about 5 minutes: fire-resistant fabric panels stretch over a pole frame. Out of the box it has an AMS Lite cable inlet, four-way pneumatic port, and a built-in LED strip.
- 550×670×600 mm — fits the A1 with AMS Lite, no measuring needed
- Interior stays under 40°C during standard printing
- Noise reduction: ~60 dB → ~40 dB
- Fire-resistant materials
- LED strip included
- Assembly: 5 minutes, no tools needed
Difficulty: Easy | Cost: ~$50 | Setup time: 5 minutes
The Non-Negotiable: Electronics Cooling
The standard fix is two 4010 fans (40×40×10 mm): one drawing fresh air from outside into the A1's base ventilation slots (where the PSU and board are), one exhausting hot air from the upper enclosure zone out through the back or top. Printable cooling ducts designed specifically for the A1 are available on Printables — search "Bambu Lab A1 Enclosure Cooling Ducts".

- Download A1 cooling duct STLs from Printables (search "Bambu Lab A1 Enclosure Cooling Ducts")
- Print in PETG or ABS — PLA will soften from the heat inside the enclosure
- Install two 4010 fans: one intake pointing at the A1 base vents, one exhaust routed out the back or top
- Place a digital thermometer inside: base area should stay under 45°C while printing
- Monitor temps for your first 10 prints
Upgrades to Add After
Once the enclosure is built, these additions make a real difference:
- LED strip — see what's happening without opening the door mid-print
- Cable chain — keeps the AMS Lite cable organized and prevents kinks
- Filament box — protects spools from humidity that can build up inside the enclosure
- Carbon filter — essential for ABS and ASA, captures VOCs before they reach the room
- Digital thermometer/hygrometer — real-time monitoring of temp and humidity
Side-by-Side Comparison
| Option | Difficulty | Cost | Seal Quality | Best For |
|---|---|---|---|---|
| Printed acrylic frame | Medium | $20–50 | Good | Have a second printer |
| IKEA LACK stack | Easy | $20–40 | Moderate | Budget, quick start |
| Plywood box | Hard | $40–90 | Excellent | Woodworking skills |
| YOOPAI ready-made | Easy | ~$50 | Good | Want it done today |
Which One to Pick
For most A1 owners, the YOOPAI or IKEA LACK is the right starting point. If you're serious about ABS and ASA on a regular basis, the plywood box gives you the best seal. Have a spare printer sitting around? The printed acrylic frame is the cheapest path. Whatever you build, active cooling of the base electronics isn't optional — it's the one step you can't skip.
- Want it done today → YOOPAI TopCube, 5-minute setup
- Tight budget → IKEA LACK stack + acrylic side panels
- Best seal for ABS → plywood box from 12 mm sheets
- Already have a second printer → printed acrylic frame, cheapest option
- For any build → add active base ventilation before running long prints
Printer Hub Team
We study official documentation and manufacturer guides, test mods on real printers, and analyze community experience from Reddit, Discord, Printables, and YouTube.